“What is the point of this Sir? If my Mum or Dad need to find where to go they just use their Sat Nav or Google Maps”
A School I work with recently paid externally for their grounds to be mapped, we’d previously agreed that their P.E curriculum would benefit from being broader and one way we could achieve this would be through teaching Orienteering.
I strongly recommend Orienteering for your Schools – the potential for cross curricular links is huge AND once the key map reading skills have been mastered the children have to work hard to complete the course. It also helps children to imagine a time where technology wasn’t seemingly the answer to all questions, I found it very interesting that increasingly a large proportion of children perceive Orienteering to be a blend of Geography/Physical Education and History!
The main barrier your School will encounter when considering teaching Orienteering is the map – paying for an external body to create one is very expensive.
Which has led me to sharing this post. I hasten to add I do not believe that the system I’ve stumbled over myself creates maps of a professional quality – it really doesn’t. However what it has allowed me to do is to introduce Orienteering and to teach children some of the most important skills required to engage with the activity.
So here goes:
To create the map I used Microsoft Powerpoint, I’m quite open about my ICT deficiencies and I find Powerpoint the easiest programme to let me manipulate the shapes.
To start the process I used Google Earth:
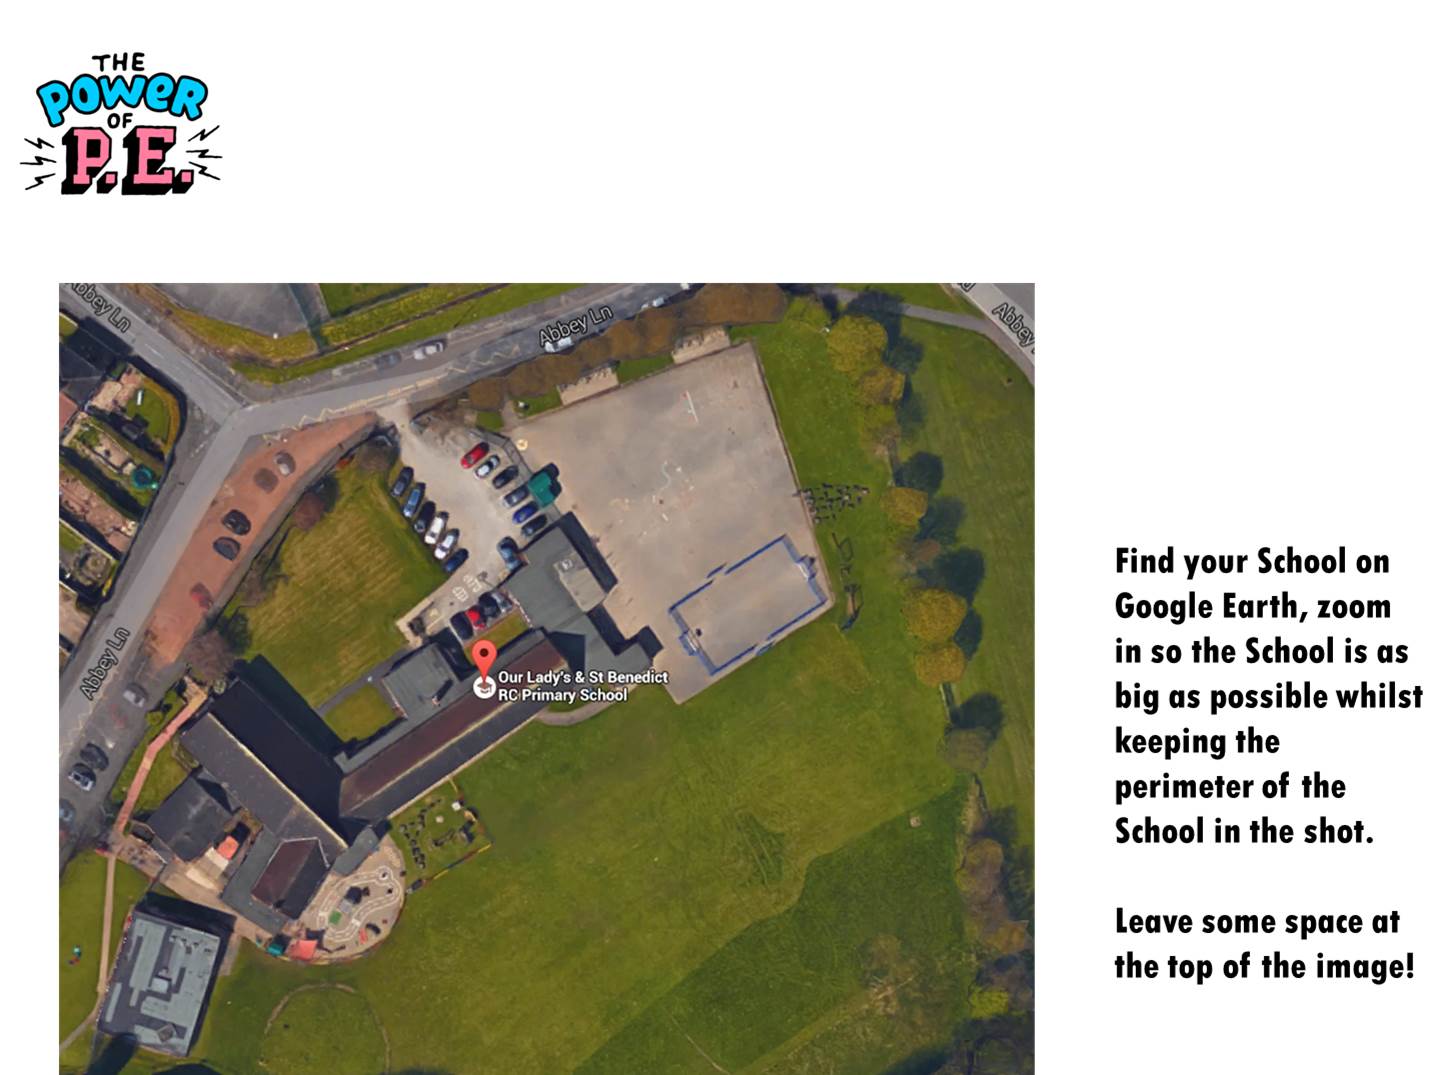

The first stage is time consuming (and a little frustrating if I’m honest) – basically you just use the ‘Shapes’ tool and place the shapes over the building until you have the shape of your School building/’s.


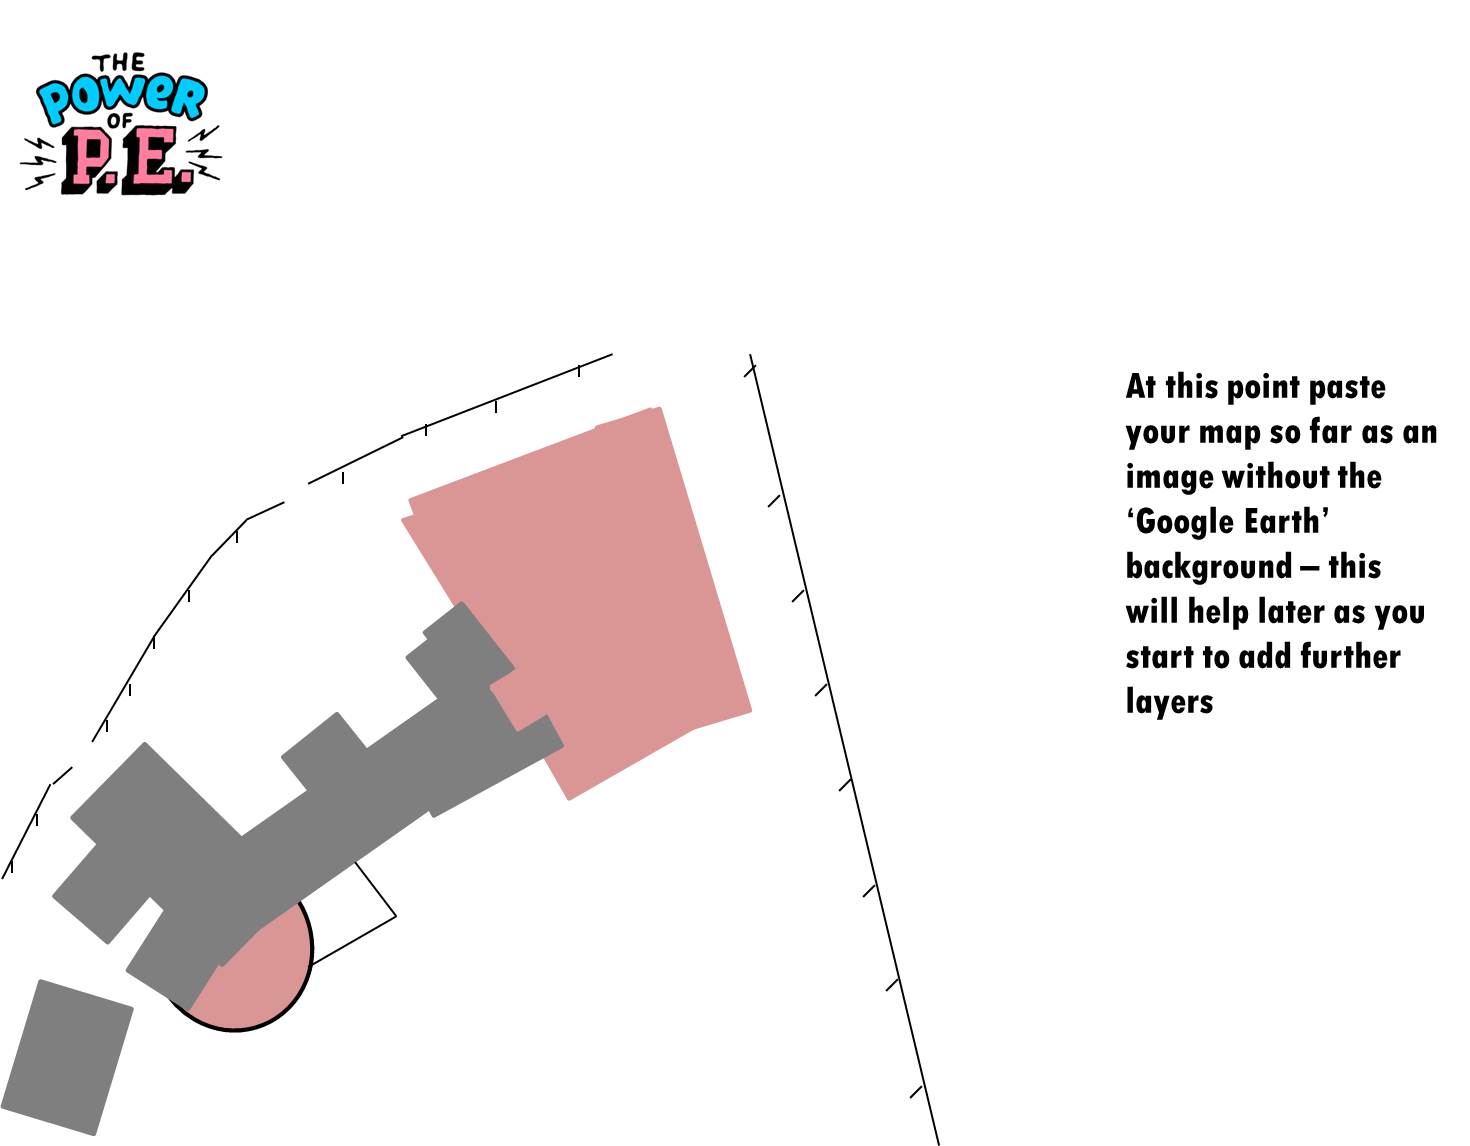
The key thing to try and remember is to use as many ‘slides’ as possible, this will allow to have an image that is your School made from several shapes, you’ll also need the image somewhere still as several shapes. The aspect you will eventually need to play with is the ‘Send Backwards’ or ‘Bring Forwards’ – so you will need to keep your options open!
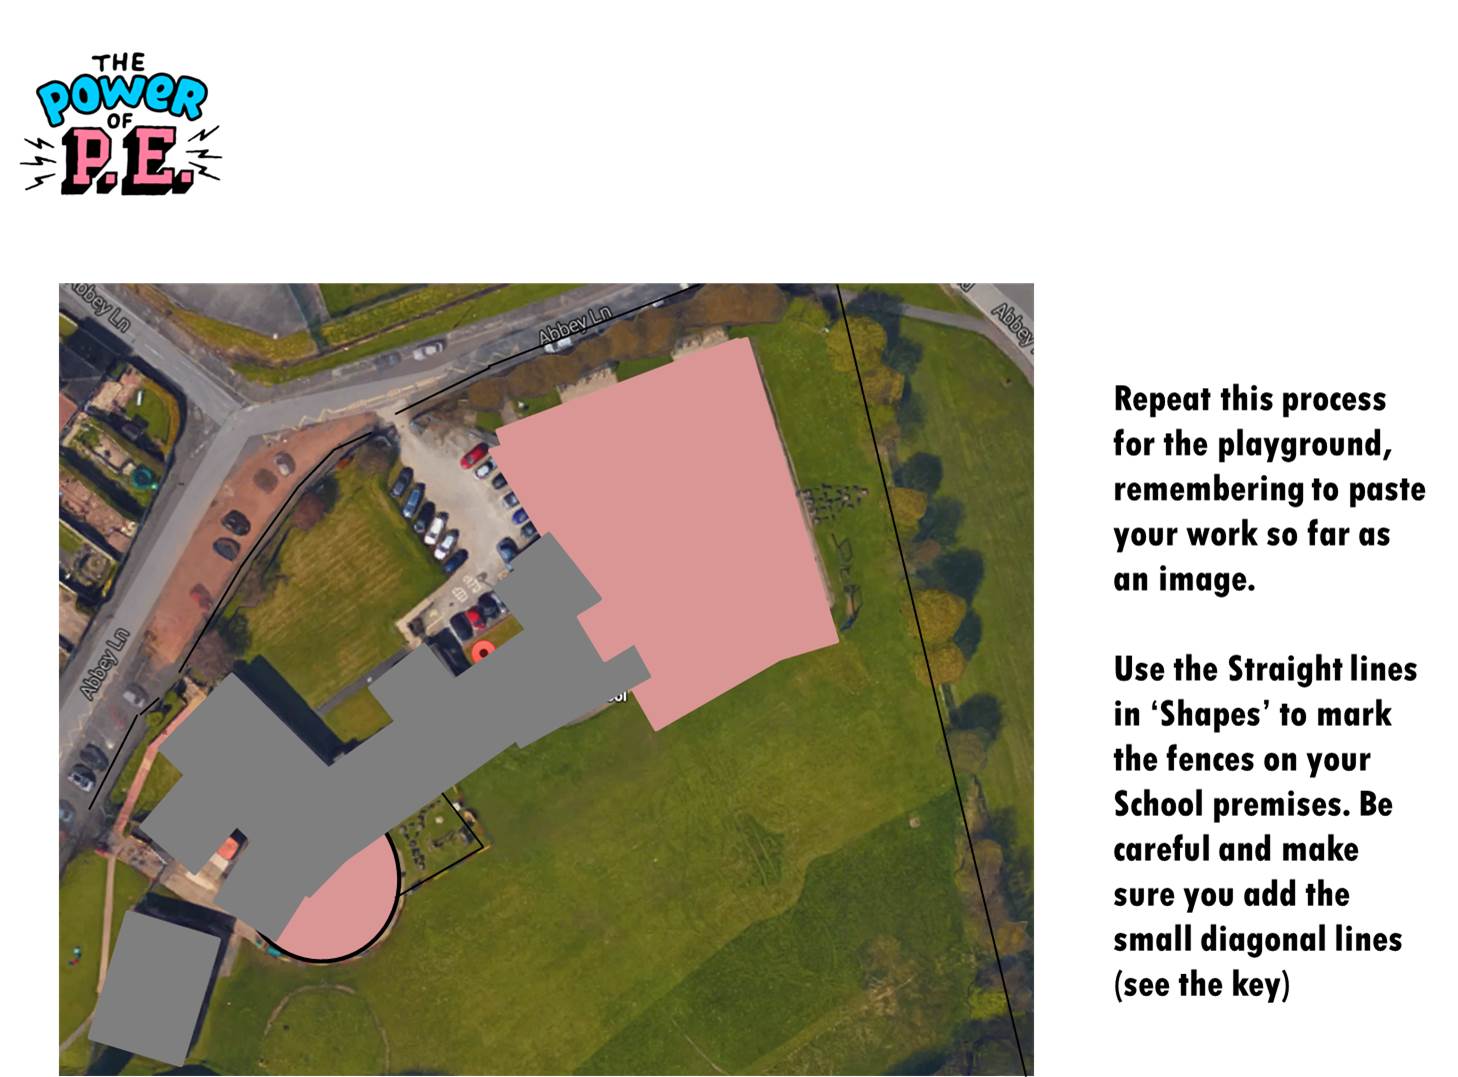
Repeat this process for the playground remembering to refer to the key so it is consistent.
I continued to use the ‘Shapes’ to build layers over the Google Earth image. At some point paste these layers over an orange background which is ‘Open Land’ on the key – hopefully the majority of your map will qualify to be ‘Open Land’. At that point your ‘map’ will look similar to this:

Now all that is left to do is to add the finer details, refer to the key and add the aspects that will ensure the map is accurate enough to use. An example of a finished D.I.Y ‘map’ can be found below:

Now I fully accept that this map is by no means perfect. But what it has allowed me to do in the Schools that I work with, is introduce the key concepts required for Orienteering – at close to no expense. Children at our Schools can now find North, use key features of the map to place themselves on the map, thumb the map (or Orientate the map) as they move around in the safety of the School environment & enjoy team Orienteering pursuits where they develop CV endurance & team work skills!
If you’re at a School where money is tight and equipment needs replenishing for your existing topics, a D.I.Y map might just help you broaden your children’s horizons with little or no expense.
Fingers crossed that this helps you in some way!